Important: OpenClaw Integration Removed in Jan v0.7.9
As of Jan v0.7.9, the OpenClaw integration has been discontinued and is no longer available. If you wish to use OpenClaw, please use Jan v0.7.8.
The Jan team is focusing on building a safe, stable, and practical agent experience for Jan. We appreciate your patience and support as we work toward delivering a more robust solution.
Agents
Jan supports autonomous AI agents that run entirely on your own hardware — no cloud required.
OpenClaw Agent
OpenClaw is Jan's first default agent. Unlike a chatbot that only answers questions, OpenClaw acts as a personal assistant that can take real actions on your behalf.
OpenClaw requires Node.js v22.12 or later to be installed.
What it can do:
- Read and manage local files on your computer
- Manage your calendar
- Send and receive messages via WhatsApp, Discord, or Slack
- Execute commands and automate tasks
Skills: Extend OpenClaw with skills to add new capabilities and integrations.
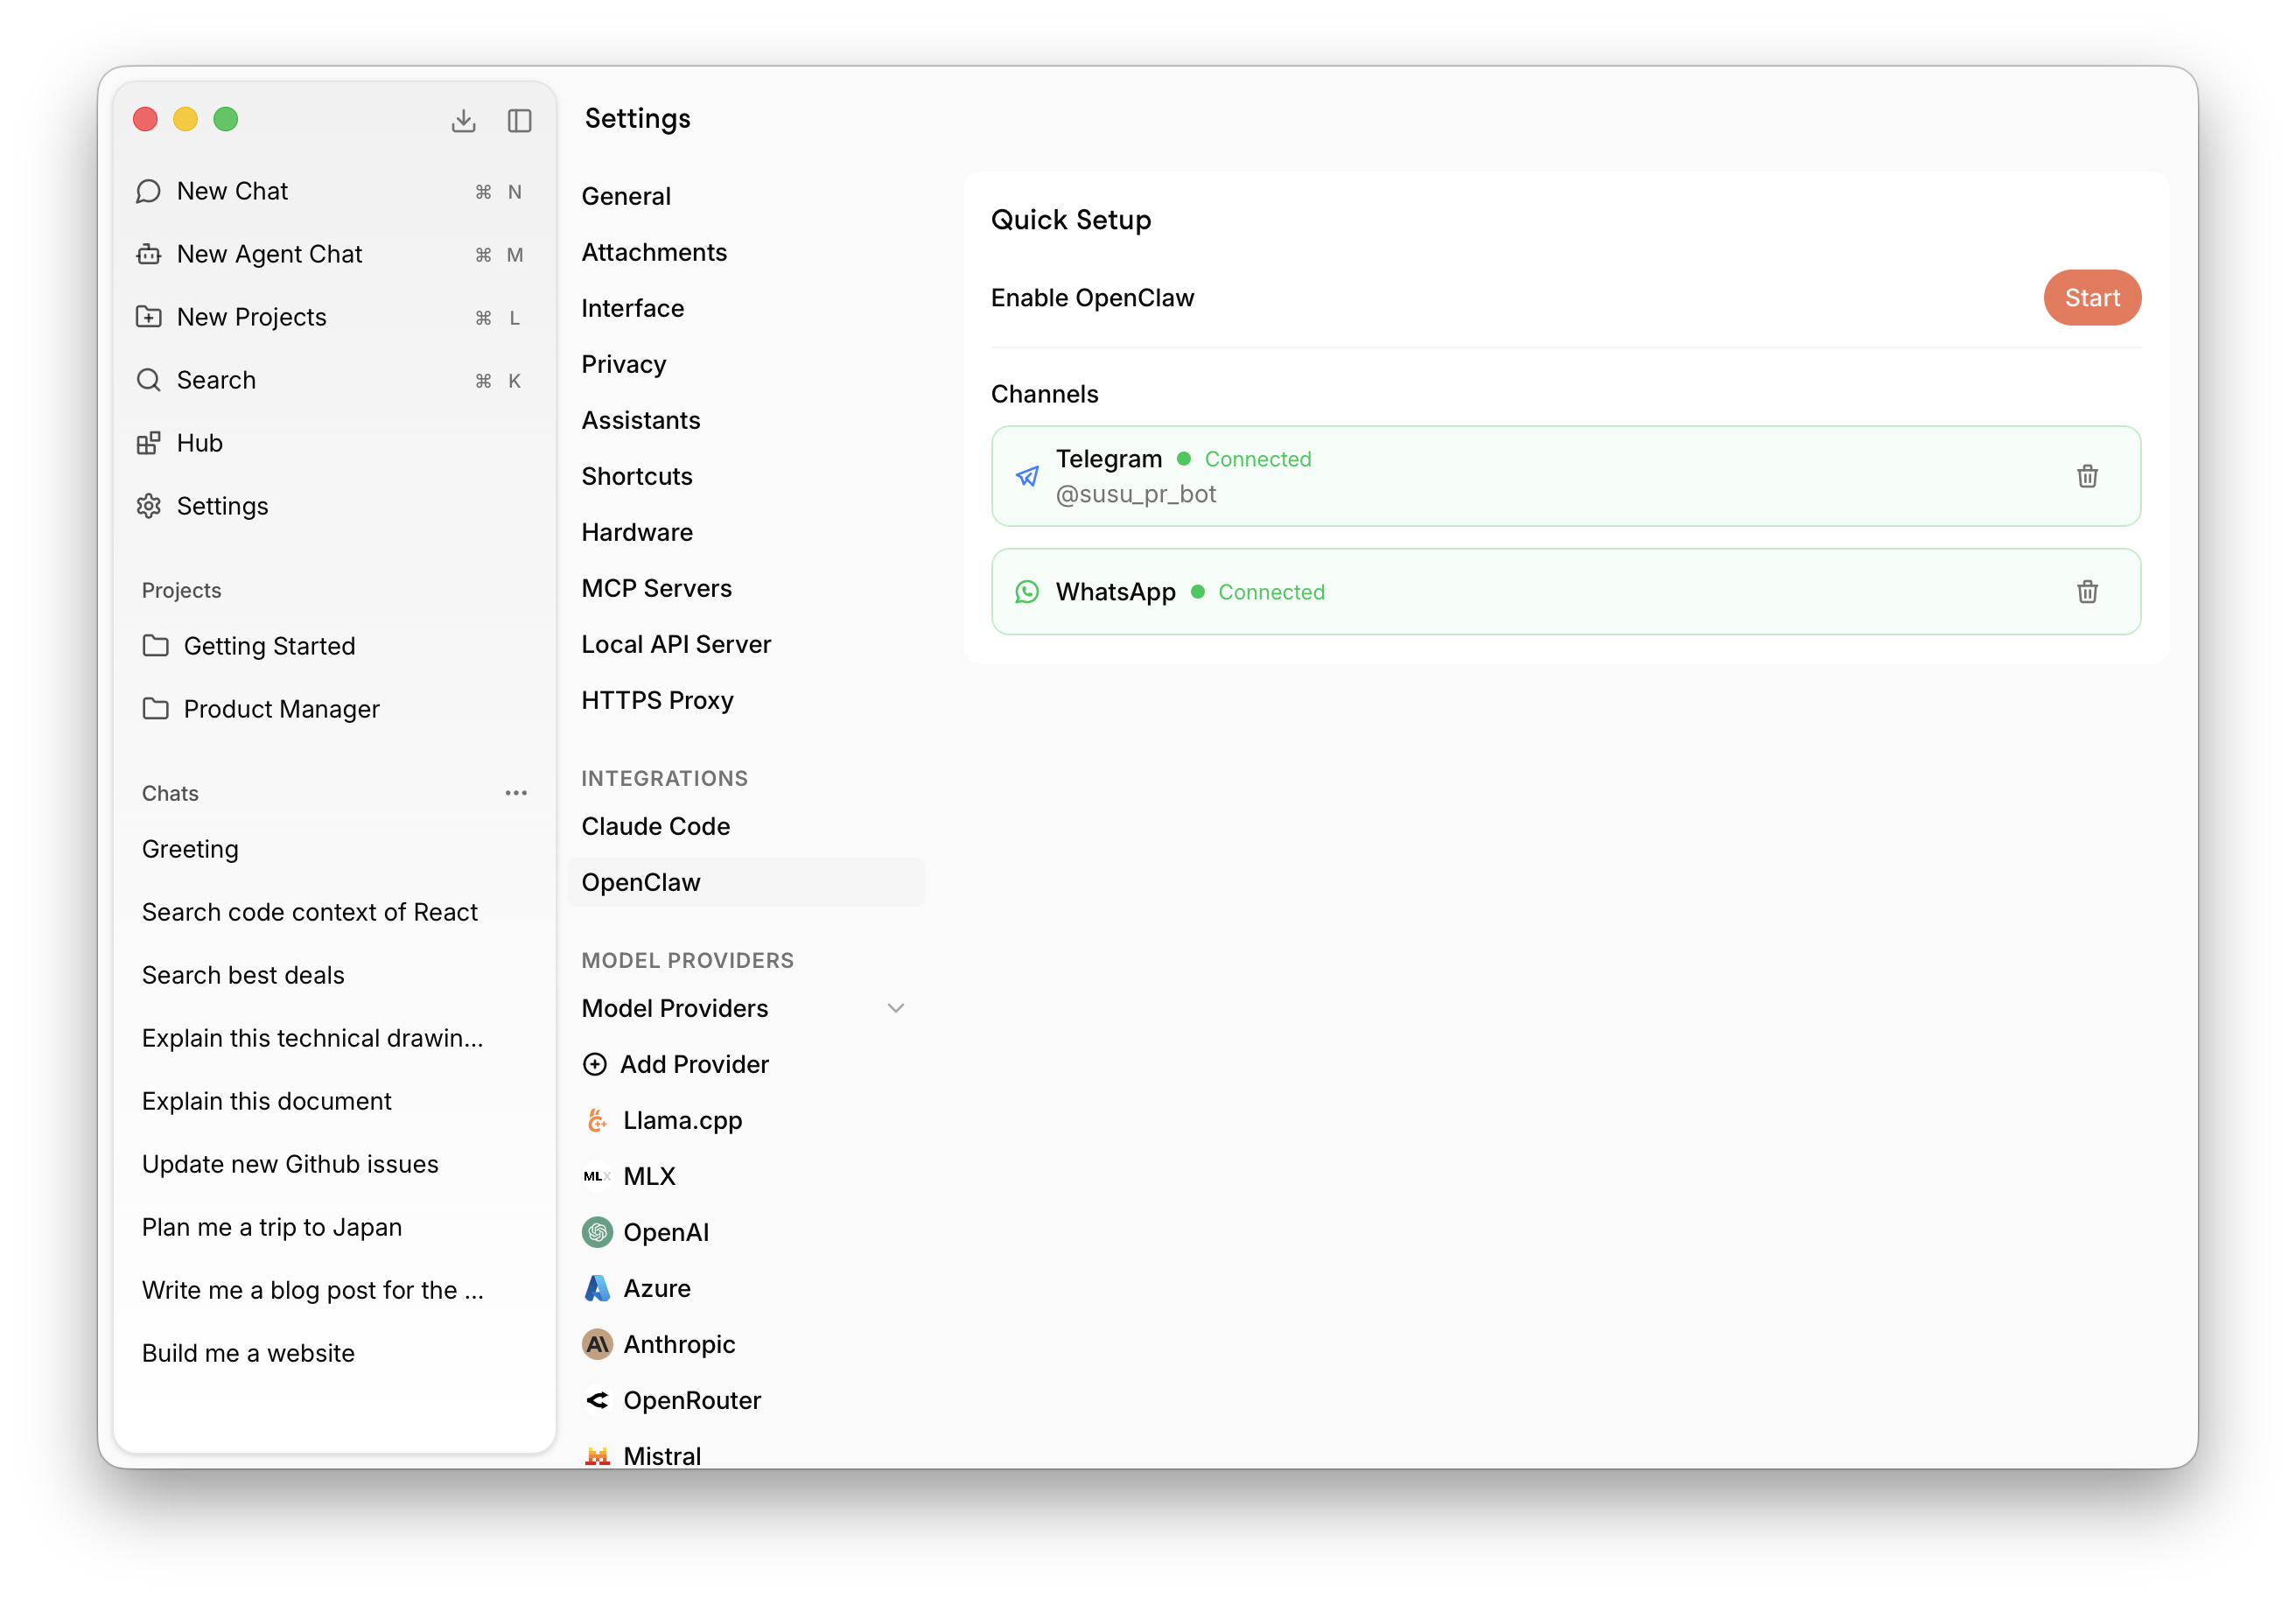
Enable OpenClaw
Go to Settings > Integrations > OpenClaw and click Start next to Enable OpenClaw. Jan will automatically walk you through the required installation steps — just wait for the process to complete.
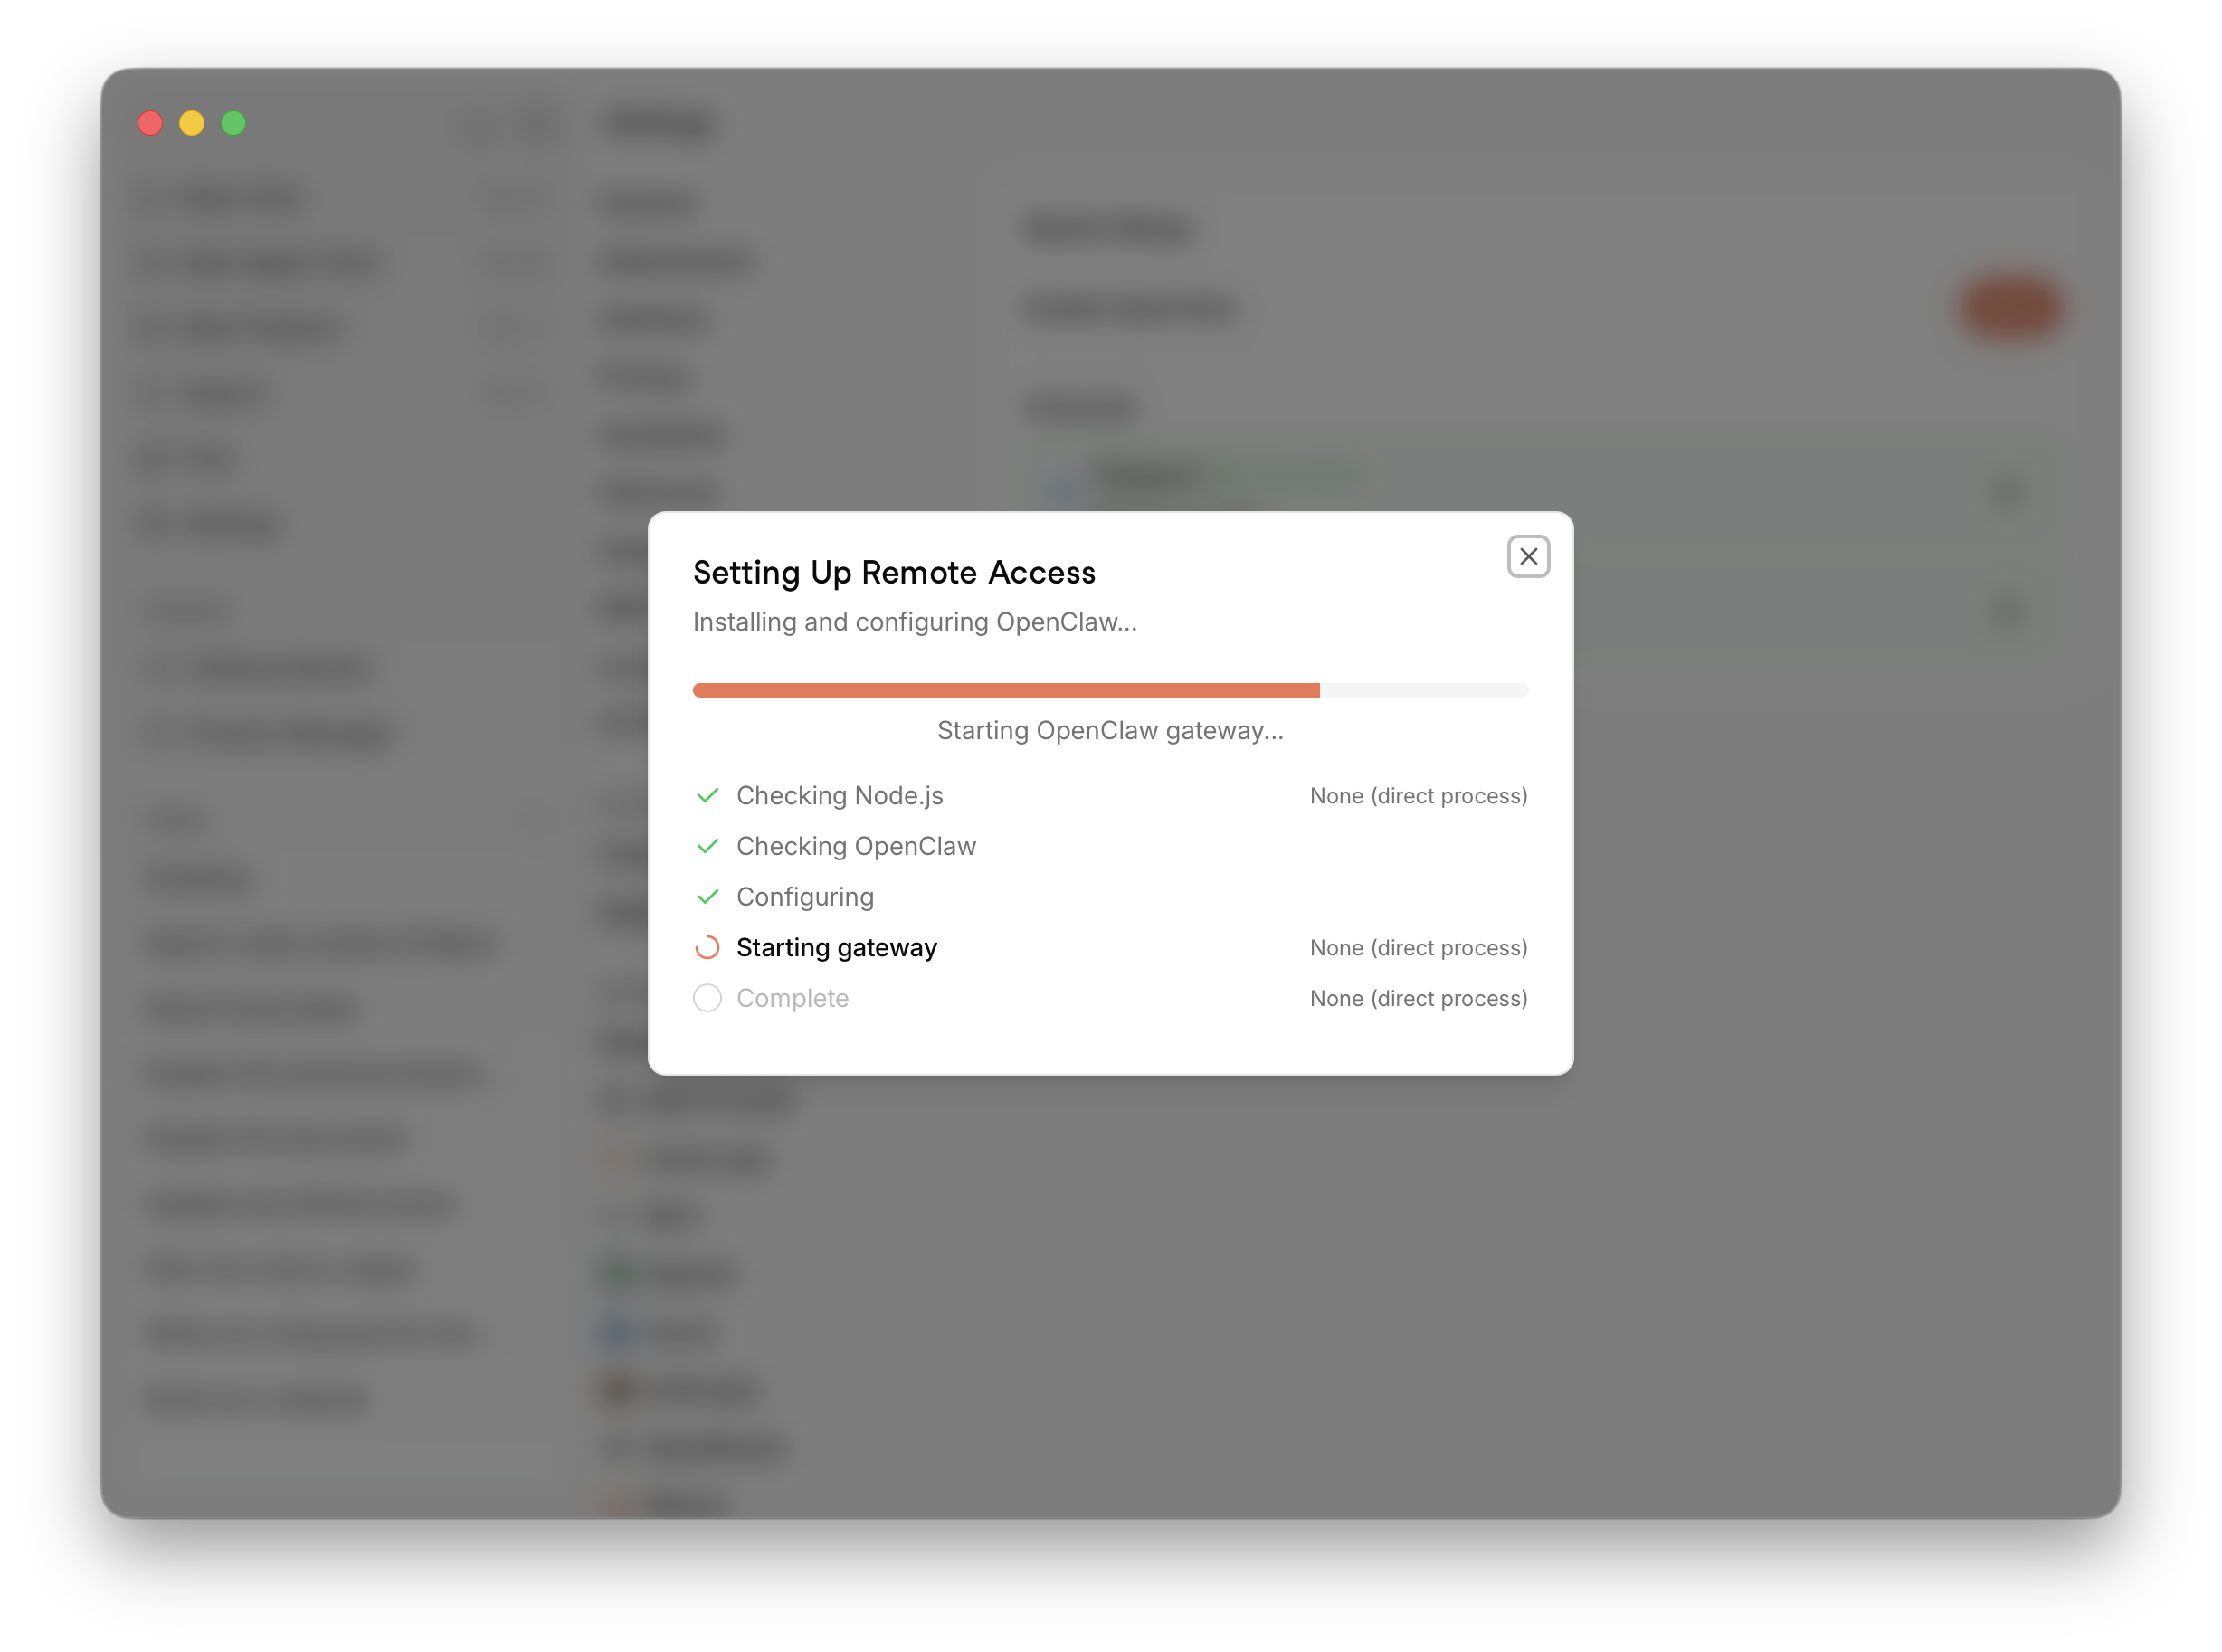
A Setting Up Remote Access dialog will appear, automatically checking Node.js, installing OpenClaw, configuring it, and starting the gateway. Wait until all steps complete before moving on.
Add Channels
Once setup is complete, connect your messaging channels under the Channels section. Click the Settings icon on the channel you want to add — for example, WhatsApp — and a setup dialog will appear.
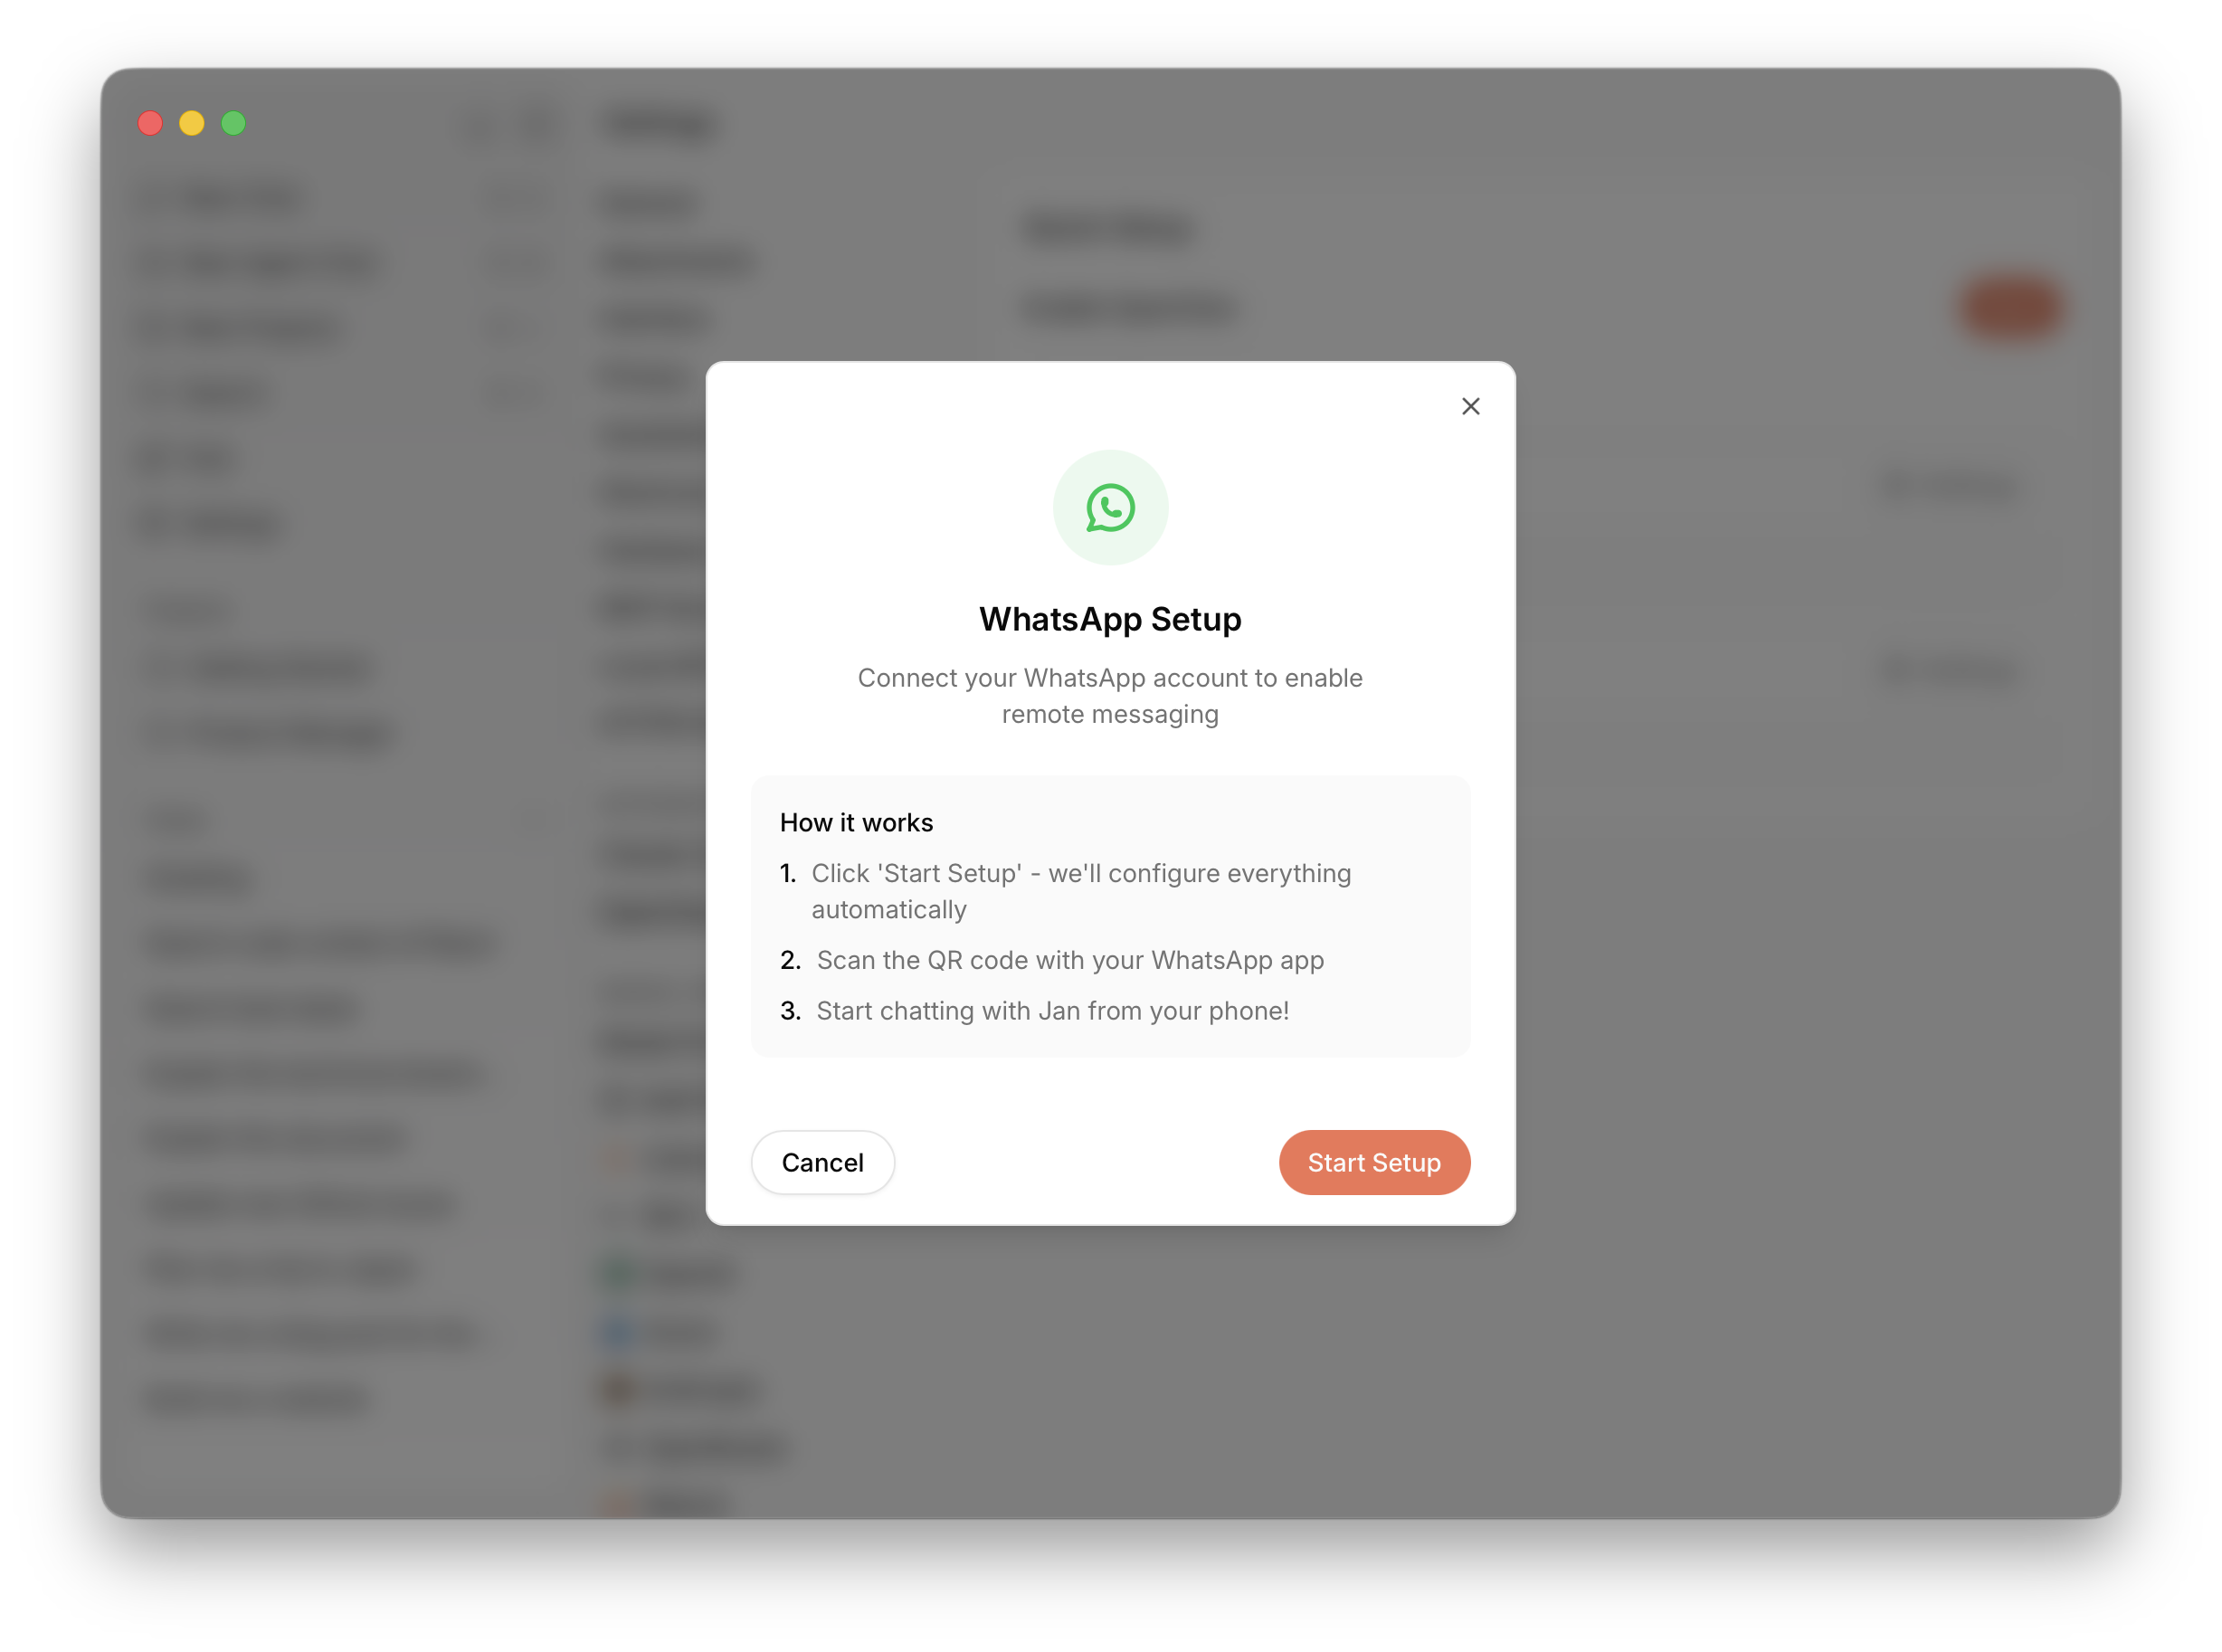
Click Start Setup and Jan will configure everything automatically, then display a QR code. Scan it with your WhatsApp app to pair your account. Once connected, you can chat with Jan directly from your phone.
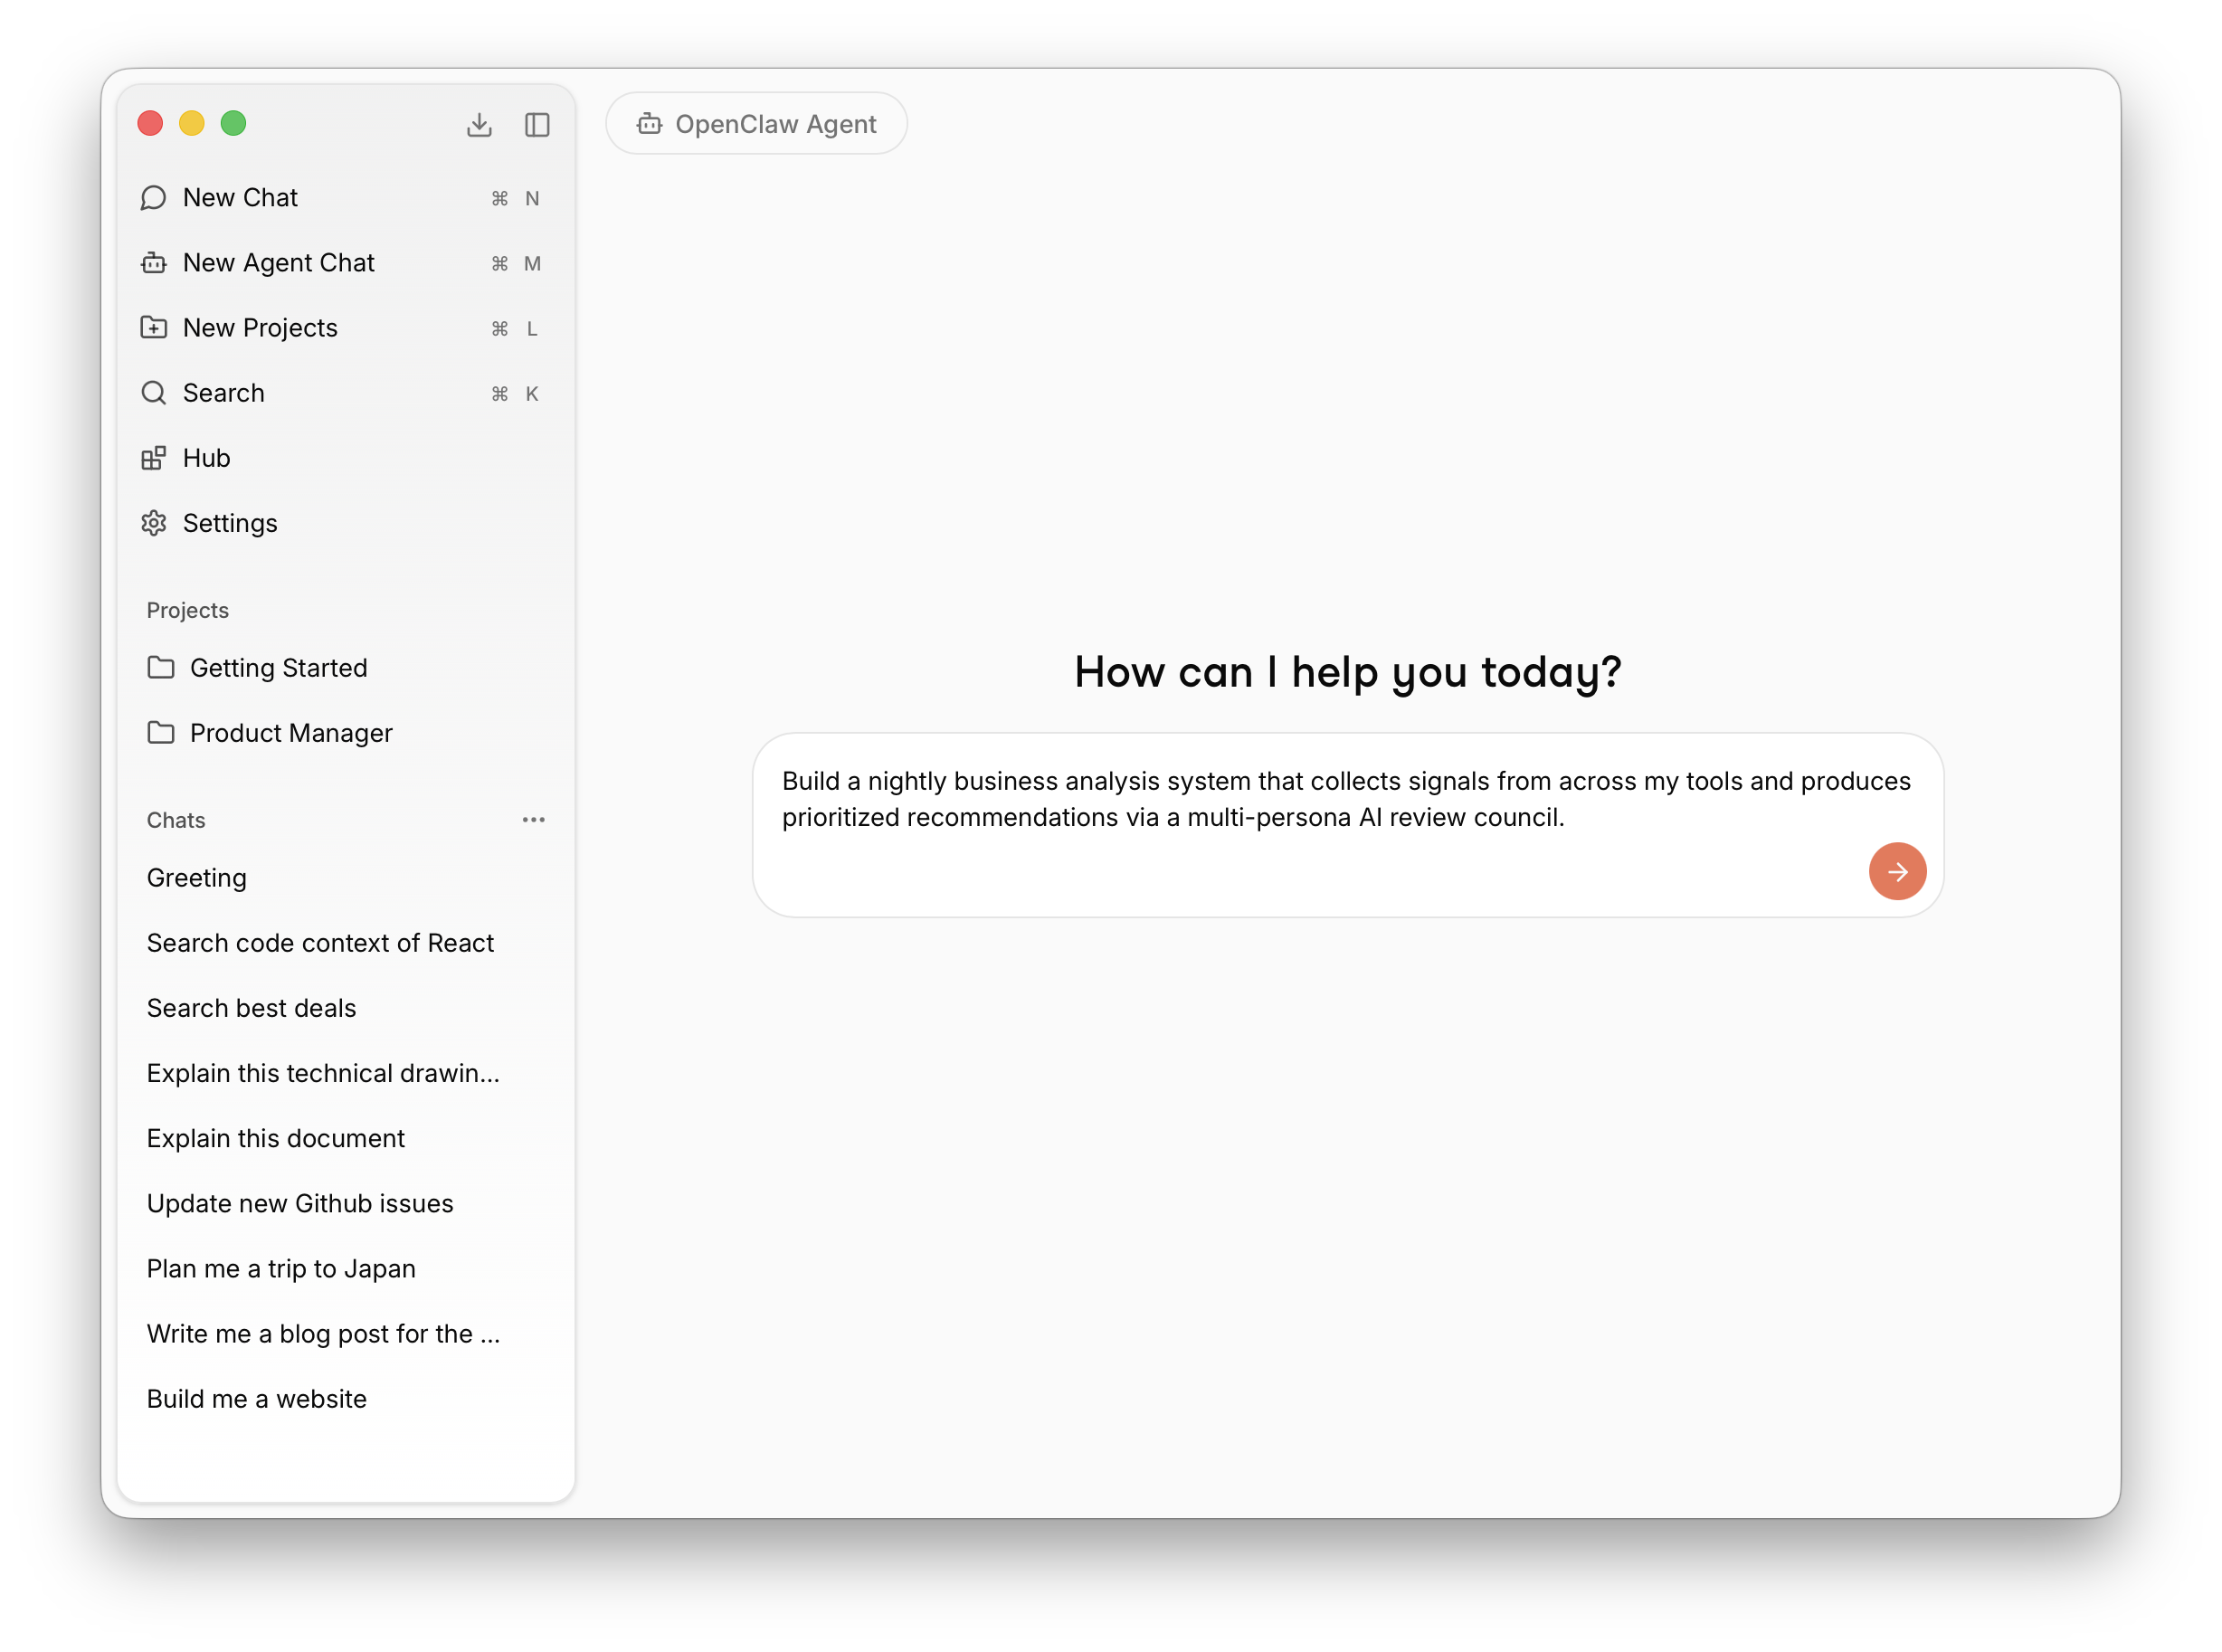
Start Chatting
Click New Agent Chat from the left sidebar (or press ⌘M) to open a new agent session and start interacting with OpenClaw.
Troubleshooting
Q: The agent responds with empty or blank messages
1. Check that the Local API Server is running
Go to Settings > Local API Server and make sure the server is running. If it's stopped, click Start Server. OpenClaw routes requests through the local API server, so it must be running for the agent to respond.
2. Increase the context size to at least 32k
A context window that is too small can cause the agent to produce empty responses, especially for multi-step tasks. Go to the model dropdown in the chat area, click the gear icon next to your loaded model, and set Context Length to at least 32768. If you enabled OpenClaw through the setup wizard, this should already be configured automatically.
3. Verify that a local model is loaded
OpenClaw in local mode requires a model to be loaded in the llamacpp engine. Check the model dropdown at the top of the chat — it should show an active local model (not just "Select a model"). If no model is loaded, select one from the dropdown and wait for it to finish loading before chatting with the agent again.
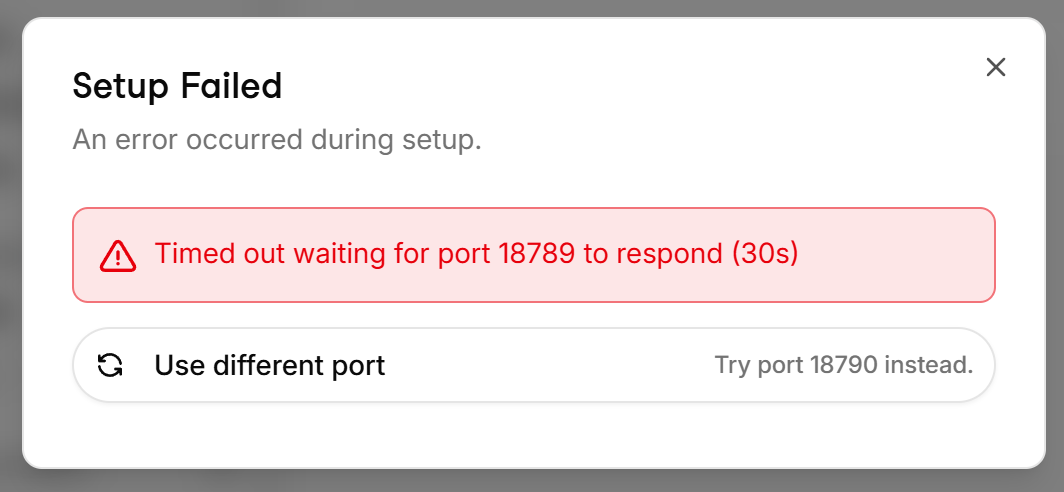
Q: Timeout waiting for port to respond
1. Verify that Node.js v22.12 or later is installed
Open a terminal and run node -v. If Node.js is not installed or the version is below v22.12, download and install it from nodejs.org (opens in a new tab).
2. (macOS) Delete the OpenClaw gateway plist and reconnect
If Node.js is already installed correctly, the gateway launch agent may be in a bad state.
On macOS, delete this file ~/Library/LaunchAgents/ai.openclaw.gateway.plist and try connecting again:
rm ~/Library/LaunchAgents/ai.openclaw.gateway.plist
Uninstalling OpenClaw
Currently, Jan does not have a built-in feature to uninstall OpenClaw. However, you can remove it manually by following the steps below.
When you enable OpenClaw through Jan, Jan installs the OpenClaw binary into its own data folder (inside the openclaw/bunx/bin/ subdirectory), which is not on your system PATH. This means running openclaw directly in a terminal will likely result in a "command not found" error. The instructions below account for this.
The default Jan data folder locations are:
- macOS:
~/Library/Application Support/Jan/data/ - Linux:
~/.local/share/Jan/data/ - Windows:
%APPDATA%\Jan\data\
If you have customized your Jan data folder, you can find the actual path in Settings > Advanced > Jan Data Folder.
Step 1: Stop the Gateway and Uninstall the Service
Use OpenClaw's built-in uninstall command to stop the gateway and remove the service registration. Since Jan's OpenClaw binary is not on your PATH, you have several options:
Option A: Using npx (requires Node.js and npm)
This is the simplest method if you have Node.js installed:
npx -y openclaw uninstall --all --yes --non-interactive
Option B: Using the full path to Jan's OpenClaw binary
macOS:
"$HOME/Library/Application Support/Jan/data/openclaw/bunx/bin/openclaw" uninstall --all --yes --non-interactive
Linux:
~/.local/share/Jan/data/openclaw/bunx/bin/openclaw uninstall --all --yes --non-interactive
Windows (PowerShell):
& "$env:APPDATA\Jan\data\openclaw\bunx\bin\openclaw.exe" uninstall --all --yes --non-interactive
Option C: If you installed OpenClaw yourself (npm/bun)
If you installed OpenClaw globally yourself (outside of Jan), the openclaw command should already be on your PATH:
openclaw uninstall --all --yes --non-interactive
Then remove the global package:
# If installed with npmnpm uninstall -g openclaw# If installed with bunbun remove -g openclaw
If none of the above options work, skip to Step 2 and follow the manual cleanup instructions for your platform.
Step 2: Remove the Gateway Service Manually (if Step 1 failed)
If you were unable to run the uninstall command in Step 1, manually remove the gateway service for your platform:
macOS (launchd):
launchctl bootout gui/$(id -u)/ai.openclaw.gateway 2>/dev/nullrm -f ~/Library/LaunchAgents/ai.openclaw.gateway.plist
Linux (systemd):
systemctl --user disable --now openclaw-gateway.service 2>/dev/nullrm -f ~/.config/systemd/user/openclaw-gateway.servicesystemctl --user daemon-reload
Windows (Task Scheduler, run in PowerShell as Administrator):
schtasks /Delete /F /TN "OpenClaw Gateway"Remove-Item -Force "$env:USERPROFILE\.openclaw\gateway.cmd" -ErrorAction SilentlyContinue
Step 3: Remove the OpenClaw Binary
Delete Jan's internal OpenClaw installation directory.
macOS:
rm -rf ~/Library/Application\ Support/Jan/data/openclaw
Linux:
rm -rf ~/.local/share/Jan/data/openclaw
Windows (PowerShell):
Remove-Item -Recurse -Force "$env:APPDATA\Jan\data\openclaw"
Step 4: Remove OpenClaw Configuration and State
Delete the OpenClaw configuration, state, and workspace data:
macOS / Linux:
rm -rf ~/.openclaw
Windows (PowerShell):
Remove-Item -Recurse -Force "$env:USERPROFILE\.openclaw"
Docker Mode
If you were running OpenClaw in Docker mode, you can remove the container and image instead. You can do this via the command line or through Docker Desktop.
Via command line:
# Stop and remove the containerdocker rm -f jan-openclaw# Remove the Docker imagedocker rmi openclaw
Via Docker Desktop:
- Open Docker Desktop
- Go to the Containers tab, find
jan-openclaw, click the stop button, then delete it - Go to the Images tab, find the
openclawimage, and delete it
After uninstalling, you can always reinstall OpenClaw later by going to Settings > Integrations > OpenClaw and clicking Start again.
What's Next
You're all set — start from here and explore what OpenClaw can do for you. We'll be adding a lot of useful real-world use cases and guides to the docs soon.